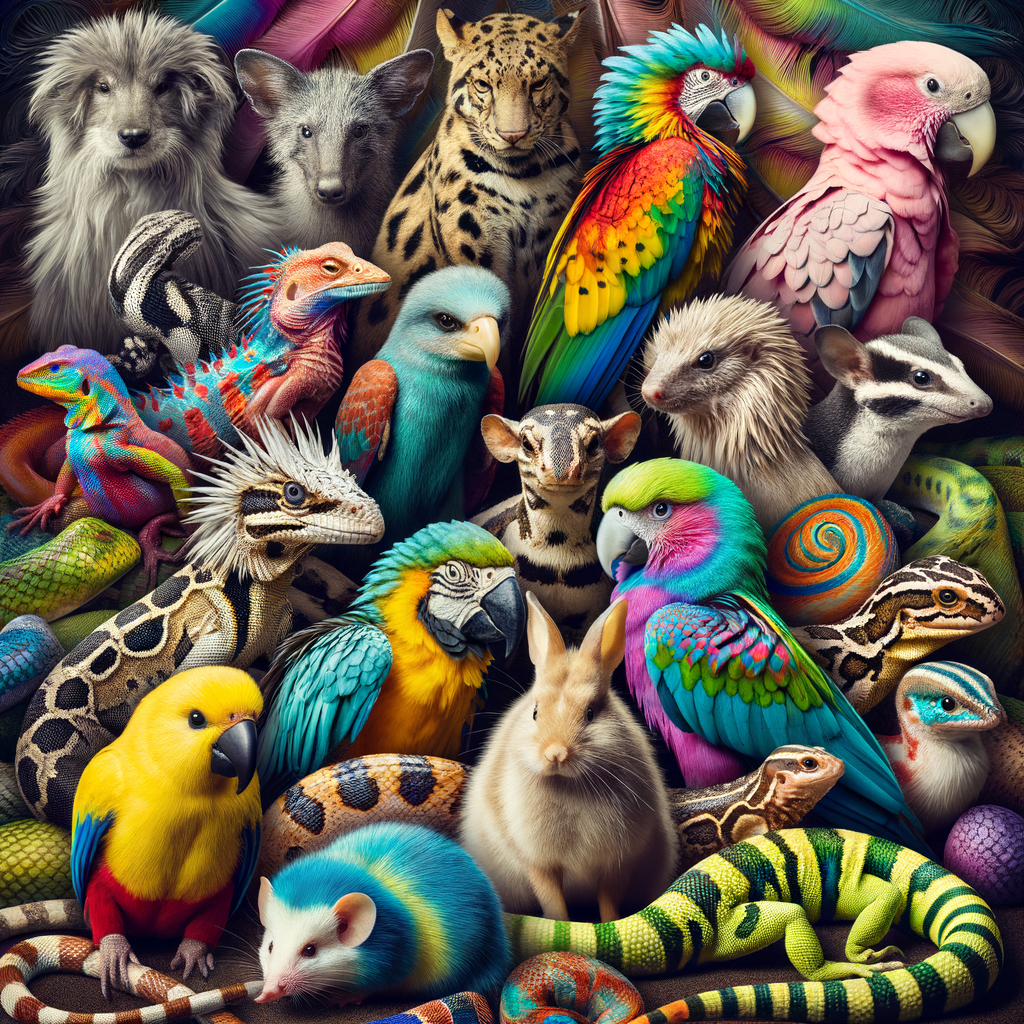
Introduction to Exotic Pet Enclosure DIY
Welcome to the world of DIY projects for exotic pet enclosures. This guide is designed to help you understand the needs of your exotic pet, the importance of a well-designed habitat, and the benefits of DIY projects for pet habitats. Let’s dive in!
- Understanding the Needs of Your Exotic Pet
- Importance of a Well-Designed Habitat
- Benefits of DIY Projects for Pet Habitats
Every pet has unique needs, and exotic pets are no different. Whether you’re caring for a reptile, bird, or aquatic creature, it’s crucial to understand their specific requirements. For example, some pets need a lot of space to move around, while others require specific temperature or humidity levels. Researching your pet’s needs is the first step in creating a suitable habitat.
A well-designed habitat is more than just a place for your pet to live. It’s a space that mimics their natural environment, promoting their health and happiness. A poorly designed habitat can lead to stress, illness, and a shorter lifespan for your pet. Therefore, investing time and effort into designing a suitable enclosure is essential.
DIY projects for pet habitats offer several benefits. Firstly, they allow you to customize the enclosure to your pet’s specific needs. Secondly, they can be a cost-effective alternative to store-bought enclosures. Lastly, building a habitat can be a rewarding experience, allowing you to express your creativity while providing a loving home for your pet.
In the following sections, we will explore various DIY projects for different types of exotic pet enclosures, including reptile habitats, bird cages, aquariums, and terrariums. We will also provide design ideas to inspire your next project. So, let’s get started on this exciting journey of creating a perfect home for your exotic pet!
DIY Reptile Habitat
Creating a DIY reptile habitat is an exciting project that allows you to design a comfortable and stimulating environment for your pet. This section will guide you through the materials you need to get started.
Materials Needed for DIY Reptile Habitat
Before you start building your reptile habitat, you need to gather the right materials and tools. The materials you choose should be safe for your reptile and suitable for the specific type of habitat you’re creating.
- Selecting the right materials
- Wood: A popular choice due to its versatility and natural look. However, it needs to be sealed to prevent rotting and to make cleaning easier.
- Plastic: Easy to clean and retains heat well, but may not provide the most natural look.
- Glass: Offers excellent visibility and is easy to clean, but can be heavy and fragile.
- Tools required for the project
- Screwdriver: For assembling the structure.
- Drill: For creating ventilation holes.
- Measuring tape: To ensure the habitat is the right size.
- Paintbrush: For applying sealant to wooden surfaces.
When selecting materials for your DIY reptile habitat, consider the needs of your specific reptile species. For instance, some reptiles require a warm, humid environment, so you’ll need materials that can retain heat and moisture. Here are some commonly used materials:
Once you’ve chosen your materials, you’ll need some basic tools to put your habitat together. Here’s a list of tools you might need:
Remember, the goal is to create a habitat that mimics your reptile’s natural environment as closely as possible. This will help your pet feel at home and thrive in its new surroundings.
Steps to Create a DIY Reprint Habitat
Creating a DIY reptile habitat can be an exciting and rewarding project. Here are the key steps you need to follow:
- Planning the Layout
- Building the Structure
- Adding the Finishing Touches
Before you start building, it’s important to plan your layout. Think about the size and type of your reptile. Some reptiles, like snakes, need more horizontal space to move around. Others, like geckos, need more vertical space to climb. Also, consider the natural habitat of your reptile. Try to mimic it as much as possible. This will make your pet feel at home.
Once you have a plan, it’s time to start building. You can use a variety of materials, like wood or plastic. Make sure the materials are safe for your reptile. For example, avoid using treated wood, as it can be toxic. Also, ensure the structure is sturdy. Reptiles can be surprisingly strong!
After the structure is built, you can add the finishing touches. This includes things like substrate, decorations, and hiding spots. Again, try to mimic the natural habitat of your reptile. For example, if your reptile is a desert species, you might use sand as a substrate and add rocks for decoration. Don’t forget to include a water dish and a heat source.
Remember, the goal is to create a habitat that is safe, comfortable, and stimulating for your reptile. With careful planning and a little creativity, you can build a DIY reptile habitat that your pet will love.
Homemade Bird Cage
Creating a homemade bird cage can be a fun and rewarding project. Not only does it provide a safe and comfortable home for your feathered friends, but it also allows you to customize the design to fit your style and the needs of your bird. Let’s dive into the materials you’ll need to start this project.
Materials Needed for Homemade Bird Cage
Before you start building your bird cage, it’s important to gather all the necessary materials. This includes choosing the right materials for the cage itself and the tools you’ll need to put it all together.
- Choosing the right materials
- Wire mesh or bird-safe cage bars for the walls and top of the cage
- Wood or metal for the frame of the cage
- A plastic or metal tray for the bottom of the cage, which will make cleaning easier
- Non-toxic paint or finish, if you choose to paint the cage
- Tools required for the project
- A saw or wire cutters to cut your materials to size
- A drill to assemble the frame of the cage
- Screws or other fasteners to secure the cage together
- Paintbrushes or rollers, if you choose to paint the cage
The materials you choose for your bird cage should be sturdy and safe for your bird. This typically includes:
Remember, the size of your bird and the space they need to move around comfortably should guide your choice of materials.
Once you’ve chosen your materials, you’ll need to gather the necessary tools. These may include:
Having the right tools on hand will make the construction process smoother and more efficient.
By carefully choosing your materials and tools, you can create a homemade bird cage that is both functional and beautiful. Remember, the most important thing is to ensure the safety and comfort of your bird, so take your time and do your research before you start building.
Steps to Create a Homemade Bird Cage
-
Designing the Cage
The first step in creating a homemade bird cage is the design process. This is where you decide on the size, shape, and overall look of your bird cage. It’s important to consider the type of bird you have, as different birds require different types of cages. For example, canaries prefer tall cages while parakeets need a cage that is wide. Make sure to include space for perches, food and water dishes, and toys in your design.
-
Building the Cage
Once you have your design, it’s time to start building. You’ll need to cut your chosen material to the correct sizes for the sides, top, and bottom of the cage. Then, using a strong adhesive or screws, assemble the cage according to your design. Remember to leave an opening for a door so you can easily access the inside of the cage. The bars should be close enough together that your bird cannot escape, but far enough apart that they can easily move around.
-
Adding the Finishing Touches
The final step is to add the finishing touches to your homemade bird cage. This includes adding perches, food and water dishes, and toys for your bird to enjoy. You can also paint or stain the cage to give it a more polished look. Just make sure to use non-toxic materials that are safe for your bird. Finally, add a latch to the door to keep your bird secure.
In conclusion, creating a homemade bird cage can be a rewarding project. Not only does it allow you to create a unique home for your bird, but it also gives you the opportunity to customize the cage to fit your bird’s specific needs. Just remember to keep safety in mind throughout the process, and your bird is sure to love their new home.
DIY Aquarium Projects
Creating a DIY aquarium can be a fun and rewarding project. Not only does it allow you to create a unique habitat for your aquatic pets, but it also provides an opportunity to express your creativity. However, before you dive into this project, it’s important to understand the materials and tools you’ll need.
Materials Needed for DIY Aquarium
Building an aquarium from scratch requires careful selection of materials and the right tools. Let’s explore these in detail.
- Selecting the right materials
Choosing the right materials is crucial for the success of your DIY aquarium project. The most important material you’ll need is glass or acrylic, which will form the walls of your aquarium. Glass is a popular choice due to its clarity, but acrylic is lighter and more impact-resistant. You’ll also need silicone sealant to make the aquarium watertight. Other materials include gravel or sand for the bottom of the aquarium, decorations, and a suitable cover.
- Tools required for the project
As for the tools, you’ll need a glass cutter or a saw for acrylic, a ruler, a marker for measurements, and a caulking gun for the silicone sealant. Safety gear such as gloves and goggles are also essential to protect yourself during the construction process.
| Materials | Tools |
|---|---|
| Glass or Acrylic | Glass Cutter or Saw |
| Silicone Sealant | Caulking Gun |
| Gravel or Sand | Ruler |
| Decorations | Marker |
| Cover | Safety Gear (Gloves, Goggles) |
With the right materials and tools in hand, you’re now ready to start building your DIY aquarium. Remember, the key to a successful DIY project is patience and careful planning. Happy building!
Steps to Create a DIY Aquarium
- Planning the Layout
- Building the Structure
- Adding the Finishing Touches
Before you begin building your DIY aquarium, it’s crucial to plan the layout. This step involves deciding on the size of the aquarium, the type of fish you want to keep, and the design of the aquarium. You should consider the space available in your home, the number of fish you plan to have, and their size. Remember, the larger the fish, the more space they will need. It’s also important to think about the type of plants and decorations you want in your aquarium. These elements can create a more natural environment for your fish and enhance the overall appearance of your aquarium.
Once you have a clear plan, you can start building the structure of your aquarium. This step involves cutting the glass or acrylic panels to the right size and assembling them using aquarium-safe silicone. Make sure the edges are smooth to prevent any injuries to your fish. You should also consider adding a lid to your aquarium to prevent your fish from jumping out and to reduce water evaporation. Remember, building an aquarium requires patience and precision. It’s better to take your time and do it right than to rush and risk making mistakes.
After the structure of your aquarium is complete, you can add the finishing touches. This includes installing the filtration system, heater, and lights. You should also add the substrate, plants, and decorations according to your layout plan. Once everything is in place, you can fill your aquarium with water. Make sure to treat the water with a dechlorinator before adding your fish. Finally, introduce your fish to their new home gradually to avoid shocking them. Remember, an aquarium is a living ecosystem. It will take time for the water to cycle and for the fish to adjust to their new environment.
DIY Terrarium for Exotic Pets
Creating a DIY terrarium for your exotic pets can be a fun and rewarding project. Not only does it provide a unique and comfortable home for your pet, but it also allows you to express your creativity. In this section, we will discuss the materials you will need to create your own DIY terrarium.
Materials Needed for DIY Terrarium
Before you start building your terrarium, it’s important to gather all the necessary materials. This will ensure that you have everything you need to complete the project without any interruptions.
- Choosing the right materials
- Tools required for the project
The materials you choose for your terrarium will depend on the type of pet you have. For example, reptiles and amphibians require different materials than birds or fish. Some common materials used in terrariums include glass or plastic containers, substrate (like soil or sand), plants, and decorations. Make sure to research what materials are safe for your specific pet.
Once you’ve chosen your materials, you’ll need some basic tools to put everything together. These may include a glass cutter (if you’re using a glass container), a small shovel or trowel for the substrate, and scissors for trimming plants. You might also need a hot glue gun or aquarium-safe silicone to secure decorations.
Remember, the key to a successful DIY terrarium is preparation. By choosing the right materials and having all your tools ready, you can create a beautiful and comfortable home for your exotic pet.
Steps to Create a DIY Terrarium
- Designing the Terrarium
- Building the Terrarium
- Adding the Finishing Touches
Designing your terrarium is the first and most creative step. It’s like painting a picture, but with plants and rocks instead of paint. You’ll need to decide what type of environment you want to create. Will it be a desert, a jungle, or something in between? You’ll also need to think about the size and shape of your terrarium. Remember, the design should be suitable for the type of exotic pet you have.
The next step is to build your terrarium. Start by placing a layer of pebbles at the bottom for drainage. Then, add a layer of activated charcoal to keep the terrarium fresh. Next, add a layer of potting soil. Now, you’re ready to add your plants. Make sure to choose plants that are suitable for the environment you’re creating. Finally, add some decorative elements like rocks, wood, or figurines to make your terrarium unique.
The final step is to add the finishing touches. This could be anything from a small water feature, to a special piece of driftwood, or even a tiny figurine. These finishing touches will make your terrarium truly one-of-a-kind. But remember, everything you add should be safe for your exotic pet.
In conclusion, creating a DIY terrarium can be a fun and rewarding project. Not only will you have a unique piece of decor, but you’ll also have a comfortable home for your exotic pet. So why not give it a try?
Exotic Pet Habitat Design Ideas
Designing a habitat for your exotic pet can be a fun and rewarding experience. Not only does it provide a safe and comfortable environment for your pet, but it also allows you to express your creativity. Here are some design ideas for various types of exotic pet habitats.
-
Inspiration for Reptile Habitats
Reptile habitats should be designed to mimic the natural environment of the species. For instance, desert-dwelling reptiles like bearded dragons would appreciate a habitat with plenty of sand and rocks, while tropical reptiles like geckos would prefer a habitat with lush vegetation and high humidity. You can also add a water dish for hydration and a basking spot for warmth.
-
Bird Cage Design Ideas
When designing a bird cage, it’s important to consider the size and species of your bird. Larger birds like parrots need a spacious cage with plenty of room to fly, while smaller birds like finches can do with a smaller cage. Include perches of varying sizes and textures to exercise their feet, and toys to keep them entertained. Also, ensure the cage is easy to clean to maintain hygiene.
-
Aquarium Design Ideas
Aquariums can be a beautiful addition to any room. When designing an aquarium, consider the needs of your fish. Freshwater fish like bettas and goldfish would appreciate a tank with plenty of plants and hiding spots. Saltwater fish, on the other hand, would thrive in a tank with coral and live rock. Remember to include a filter and heater to maintain water quality and temperature.
-
Terrarium Design Ideas
Terrariums are perfect for small, humidity-loving pets like frogs and salamanders. They should be designed with a substrate for burrowing, plants for hiding, and a water dish for hydration. You can also add decorative elements like rocks and logs to create a natural-looking environment. Remember to maintain the right temperature and humidity levels for your pet’s comfort.
Remember, the key to a successful pet habitat design is to consider the needs and preferences of your pet. With a little creativity and effort, you can create a habitat that your pet will love and thrive in.
Conclusion: Homemade Exotic Pet Homes
As we reach the end of our journey into the world of DIY exotic pet homes, let’s take a moment to review the key takeaways and benefits of these projects. We’ll also encourage you to continue learning and experimenting with your pet’s habitat.
- Review of Key Takeaways
- Benefits of DIY Projects for Pet Habitats
- Encouragement for Continued Learning and Experimentation
From DIY reptile habitats to homemade bird cages, we’ve covered a wide range of projects that you can undertake at home. We’ve learned that with a little creativity and effort, you can create a comfortable and stimulating environment for your exotic pet. Whether it’s an aquarium project or a terrarium for your exotic pet, the possibilities are endless.
DIY projects for pet habitats not only save you money, but they also allow you to customize the habitat to your pet’s specific needs. These projects can be a fun and rewarding way to engage with your pet. Plus, they can improve your pet’s quality of life by providing them with a habitat that is tailored to their natural behaviors and preferences.
We hope that this guide has sparked your interest in DIY pet habitat projects. Remember, the best habitats are those that evolve and grow with your pet. So, don’t be afraid to experiment and learn as you go. Your pet will thank you for it!
As Albert Einstein once said, “The only source of knowledge is experience.” So, roll up your sleeves, dive into these projects, and gain firsthand experience in creating the perfect home for your exotic pet.